Thursday, March 6, 2014
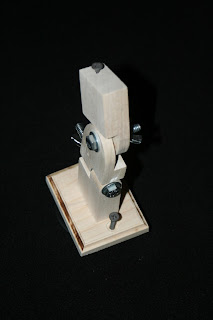
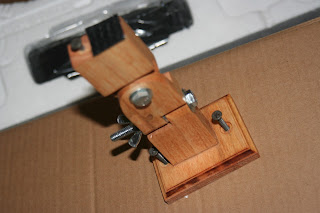
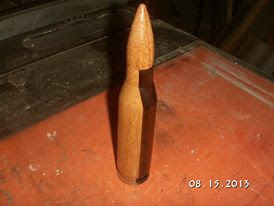
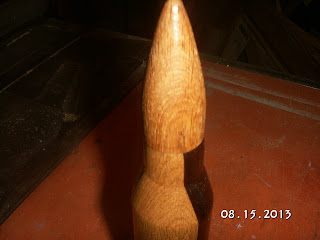
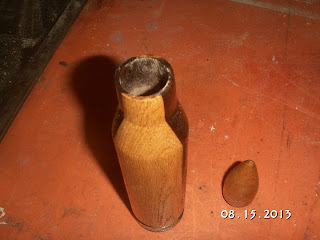
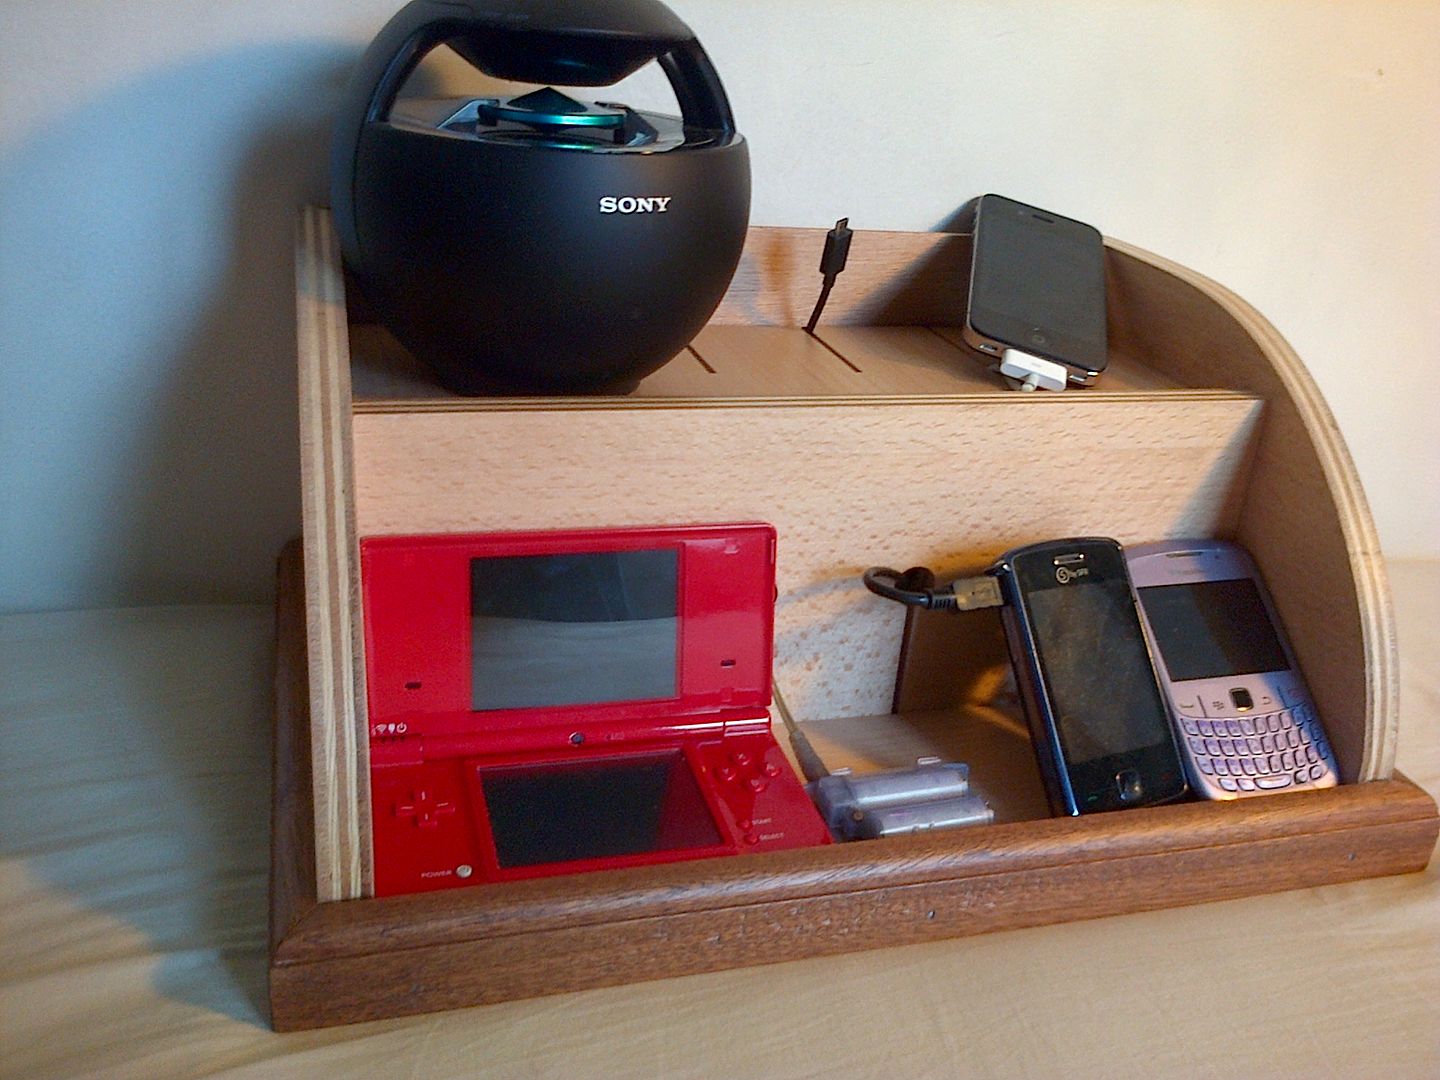
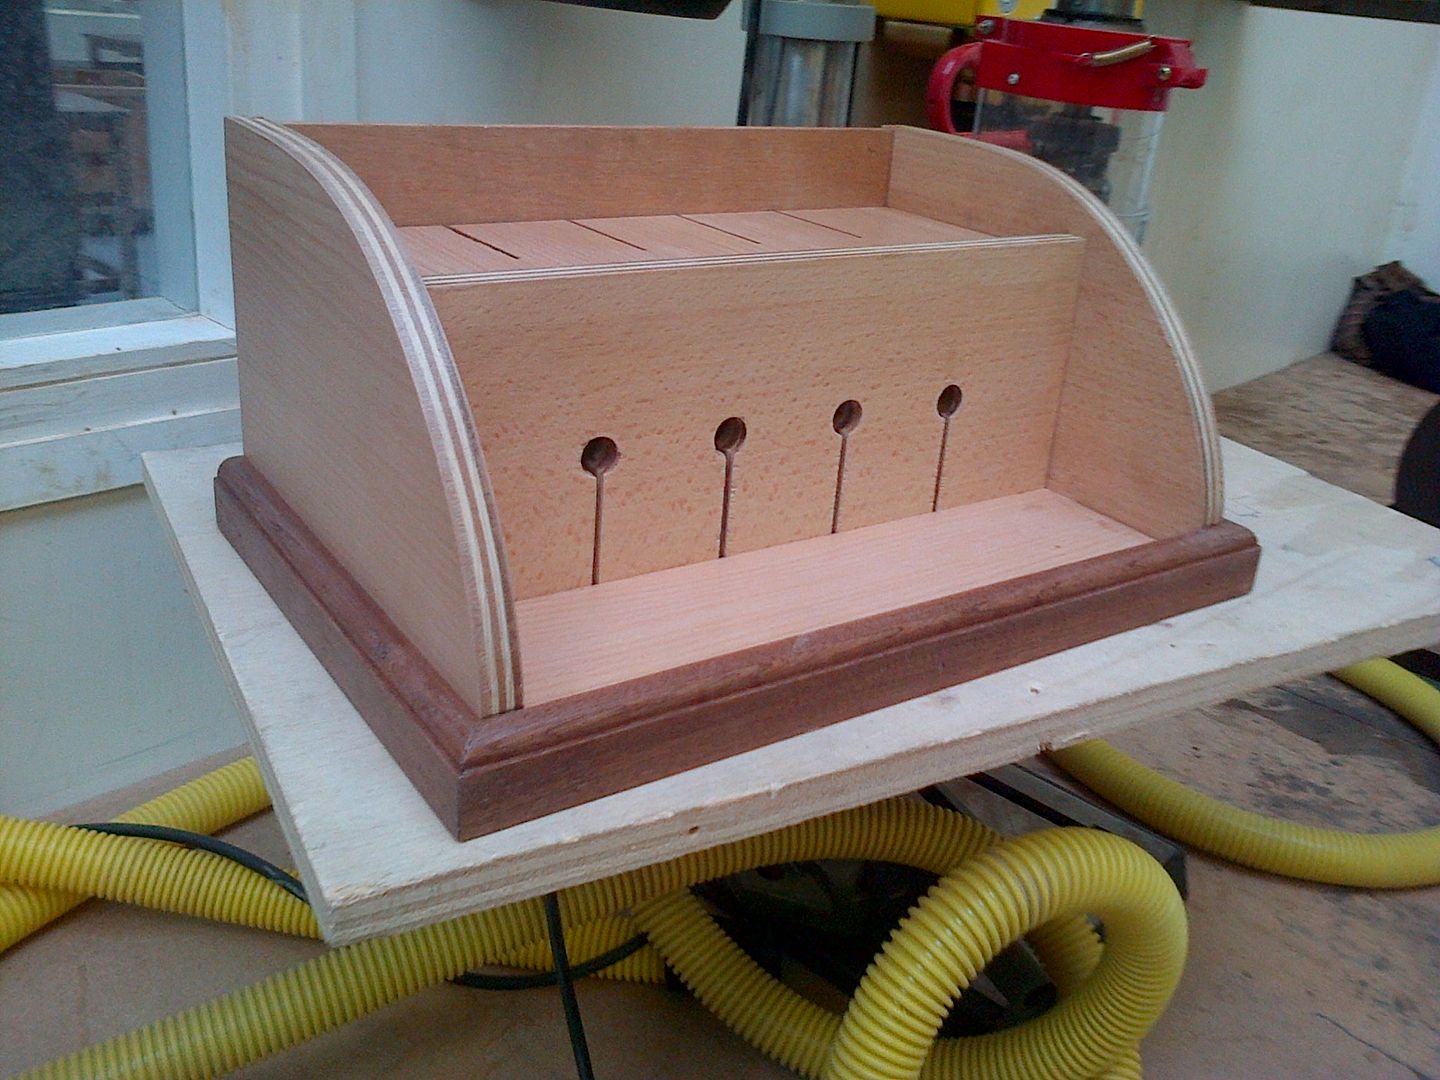
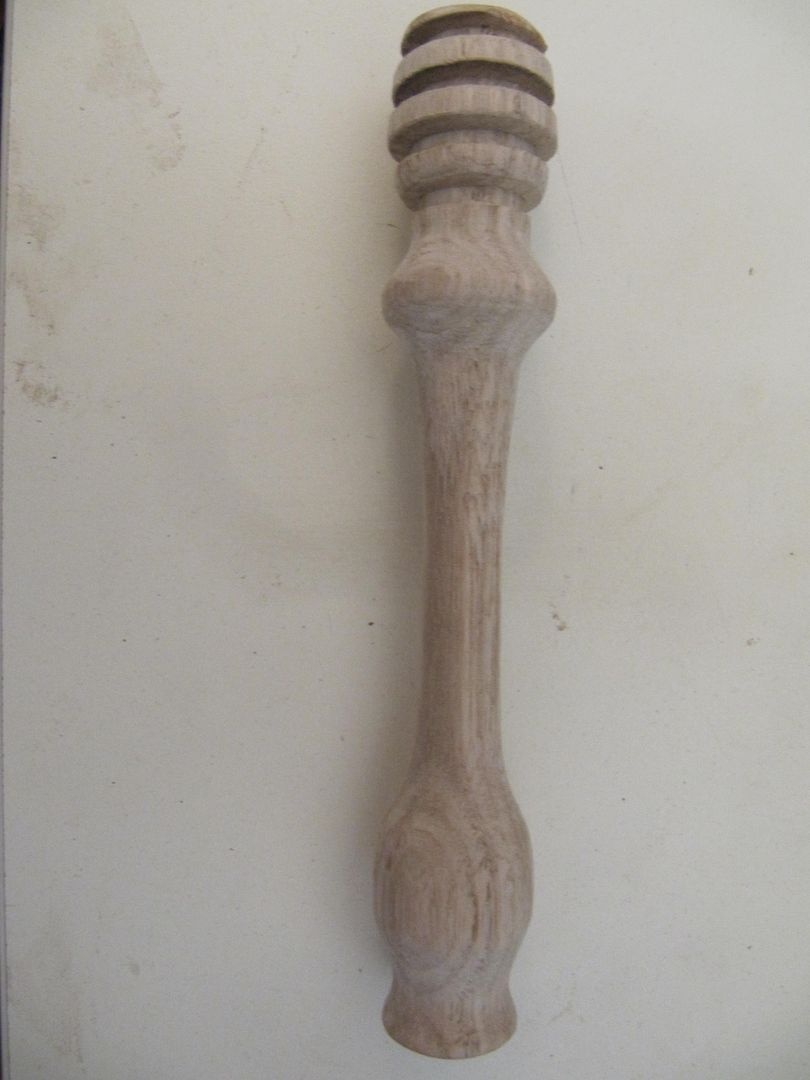
Turned Bullet Box
Wednesday, March 5, 2014
Another chair
Although I have already entered, I havent actually started on the chair yet. The actual chair is due in two weeks.
Ive been searching Craigslist for free chairs and havent been lucky. I have a couple of old outdoor chairs I may have to use.
The fairs theme this year is "Going Global". Yeah, all right, I live in a weird place; this is par for the course.

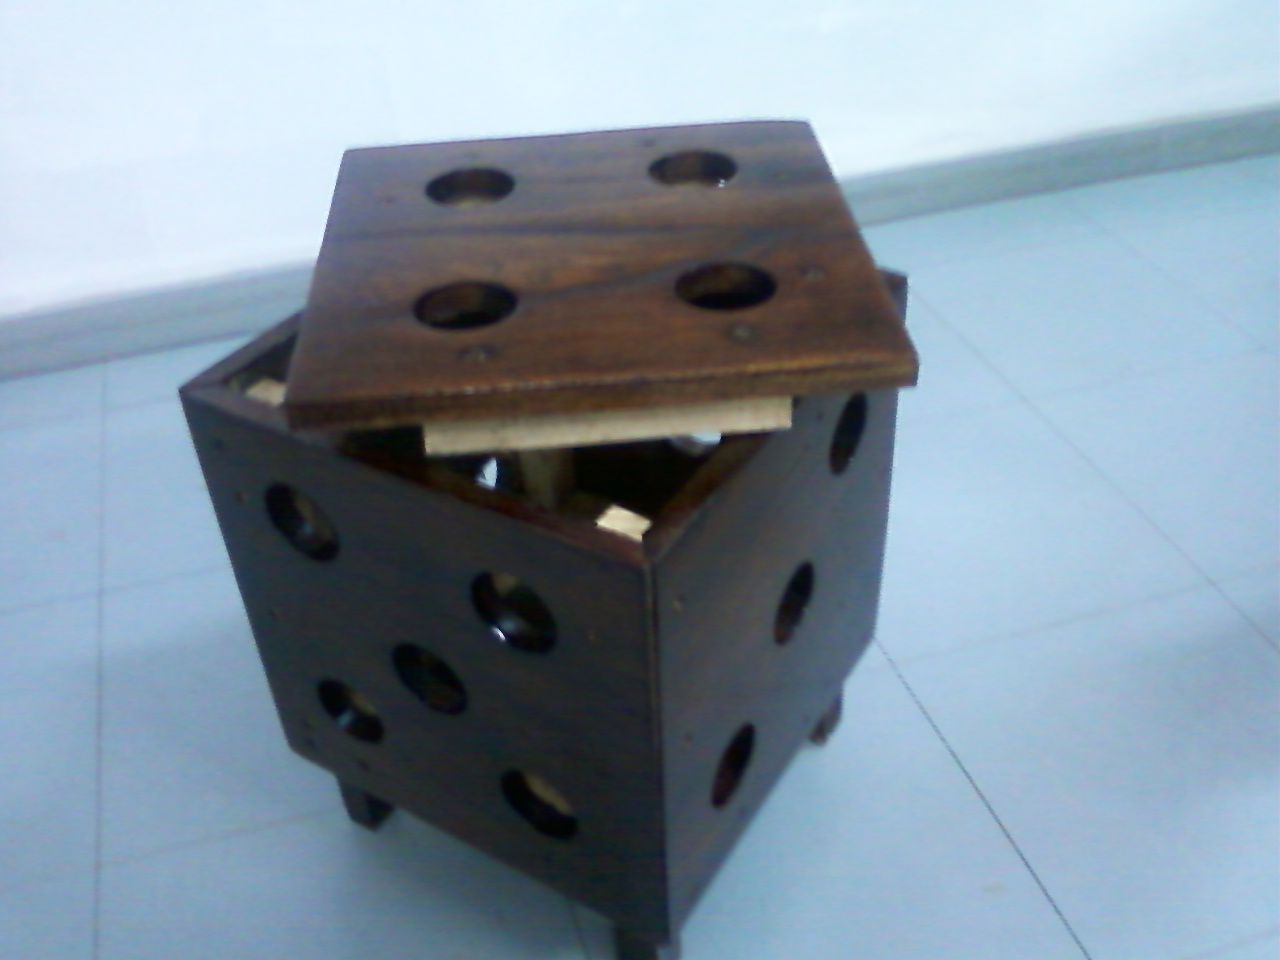
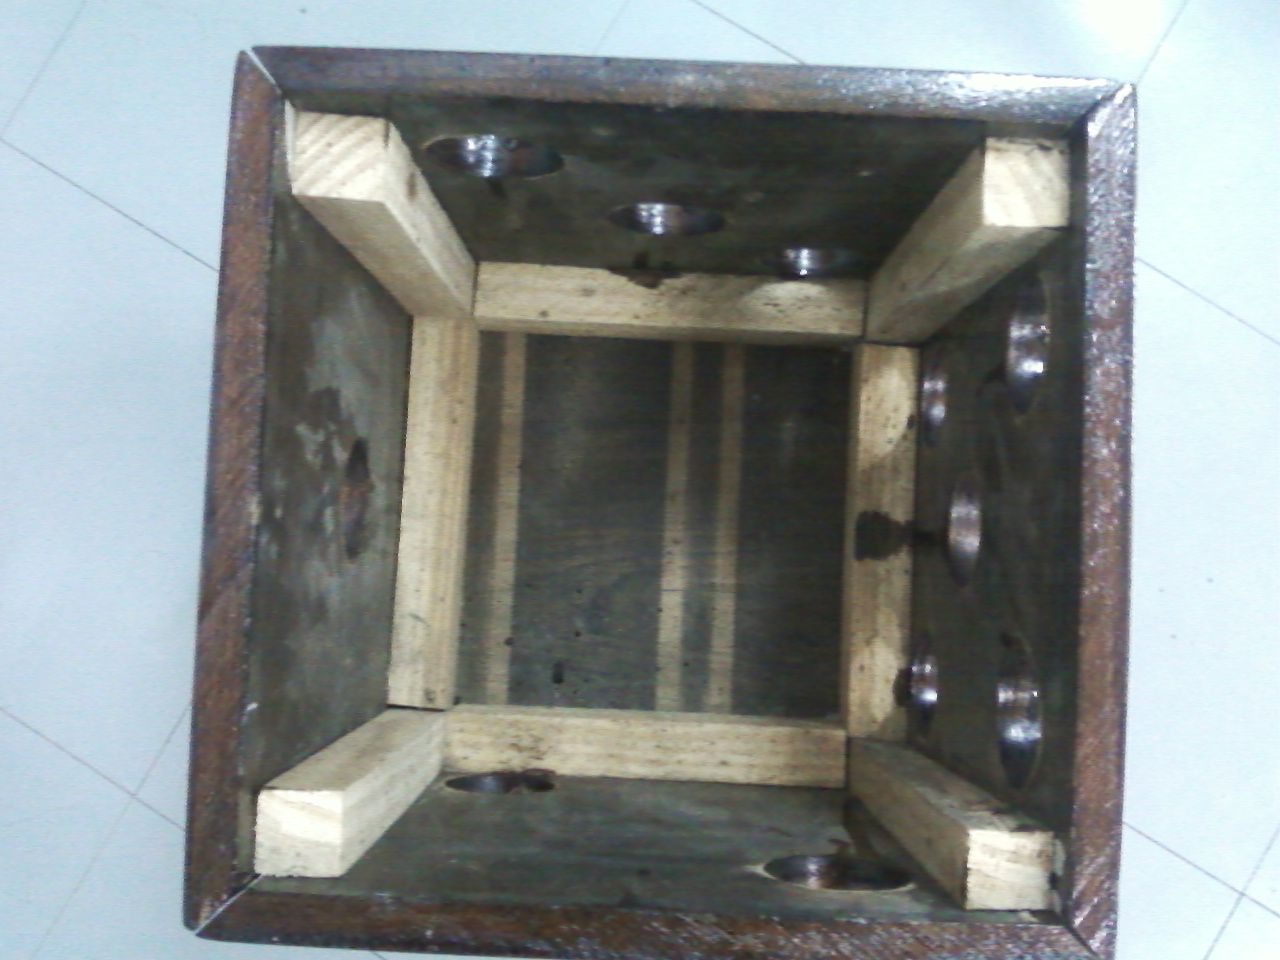
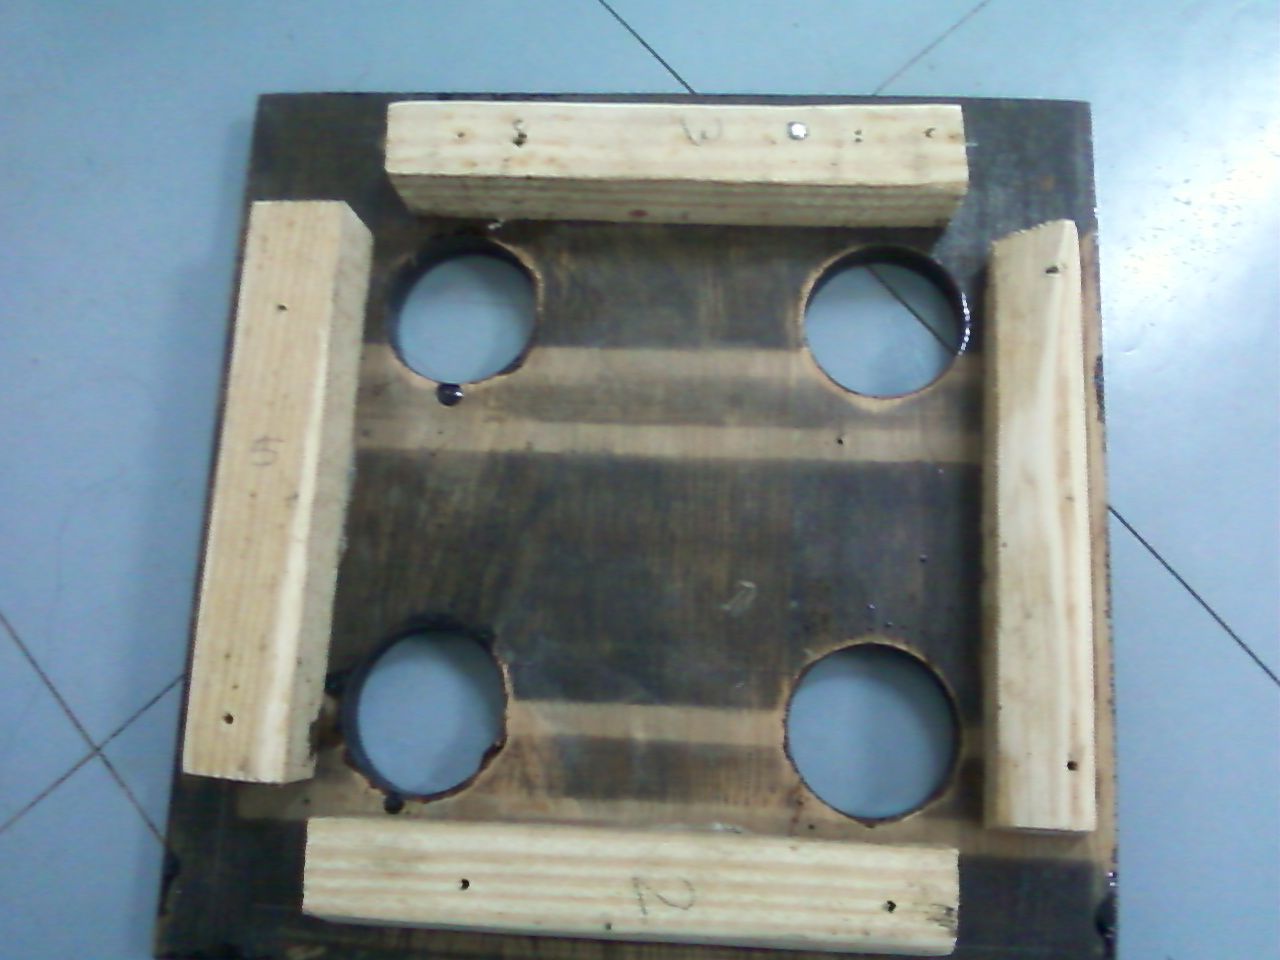
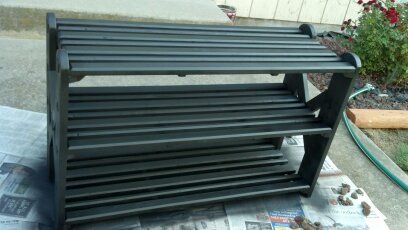
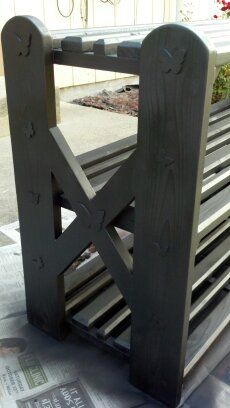
Die stool
*****
Mere Minutes

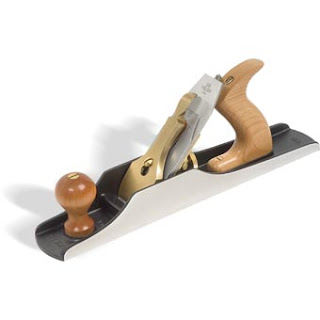
Fibonacci gauge
Ian W. made one. Its beautiful and here it is:
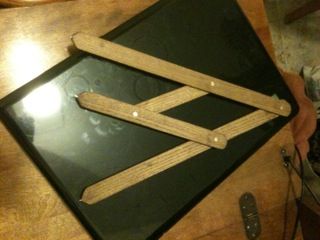
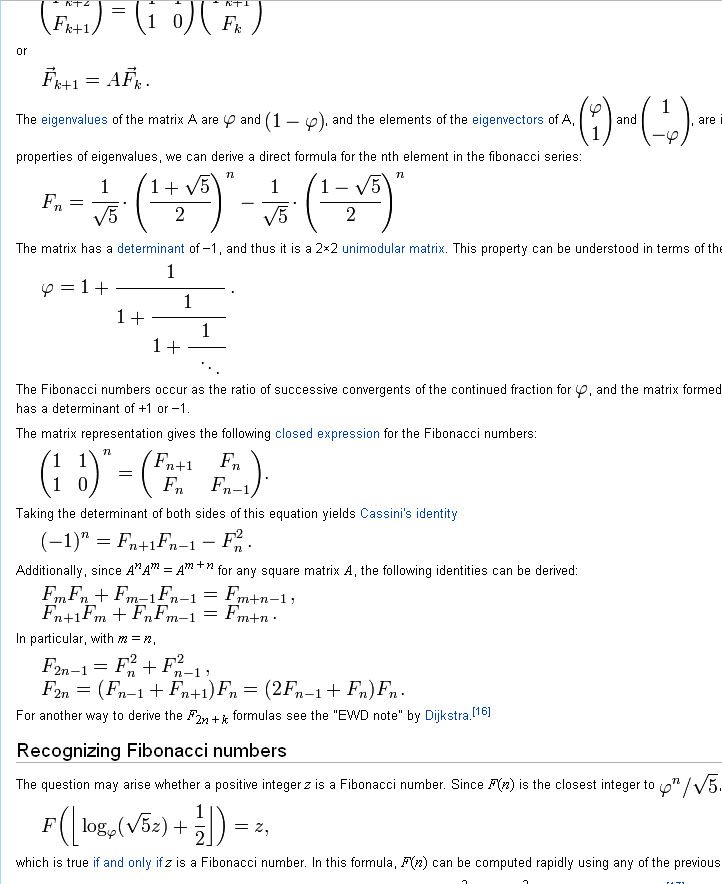
Its a completely mind-blowing and fascinating subject. So much so, that I am thinking about making a Fibonacci Gauge this weekend. It has all sorts of uses in the real world. Say you want to make a jewelry box. You can use the gauge to lay out the dimensions in a manner that will be the most pleasing to our sensibilities. Something about the Golden Ratio is hard-wired in our brains.
Be sure and check out Ians blog, and Ian: thanks for sending this over.
What inspires Sheila Landry


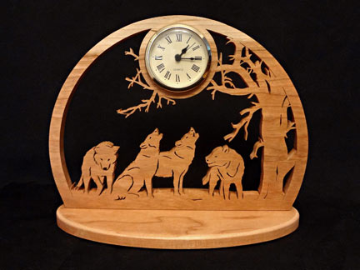 Sheila Landry, based in Nova Scotia, Canada, is one of the most prolific scroll saw woodworkers, designers, and artists today. She has been a Contribiting Editor to Creative Woodworks and Crafts Magazine for 15 years.
 The variety and scope of patterns available on SheilaLandryDesigns.com, is astounding. Be sure to stop by and pick her latest catalog.
I know I was. Some of my earliest memories from my childhood are of me sitting on the porch of my Chicago home and embroidering designs on my grandmother’s tea towels. I was always a busy child and my grandmother had some iron-on transfers and pretty colors of DMC embroidery thread and she taught me all the basic stitches in hopes of keeping me busy. To this day I still remember her telling me that “good embroidery is judged not only how the front of the piece looks, but also how neat the back looks.” It is funny how those words have followed me all throughout my life, and to this day I take care with being sure that my projects not only look good from the front side, but from the back as well. It was an idea that was instilled in me at an early age, and it became something that set a standard for my lifetime.
Looking at wood differently
 |
| Mallard Duck Forest Leaf Plaque |
Inspiration is everywhere. I find it as I walk through the woods near my house. The shape of the leaves. The sound of the birds singing. The toad stools growing on the fallen logs. I am inspired by smells and sounds and shapes of all that are around me. A single idea, such as a fallen leaf, can lead to an entire series of designs.
 |
| The Rookery Building, Chicago |
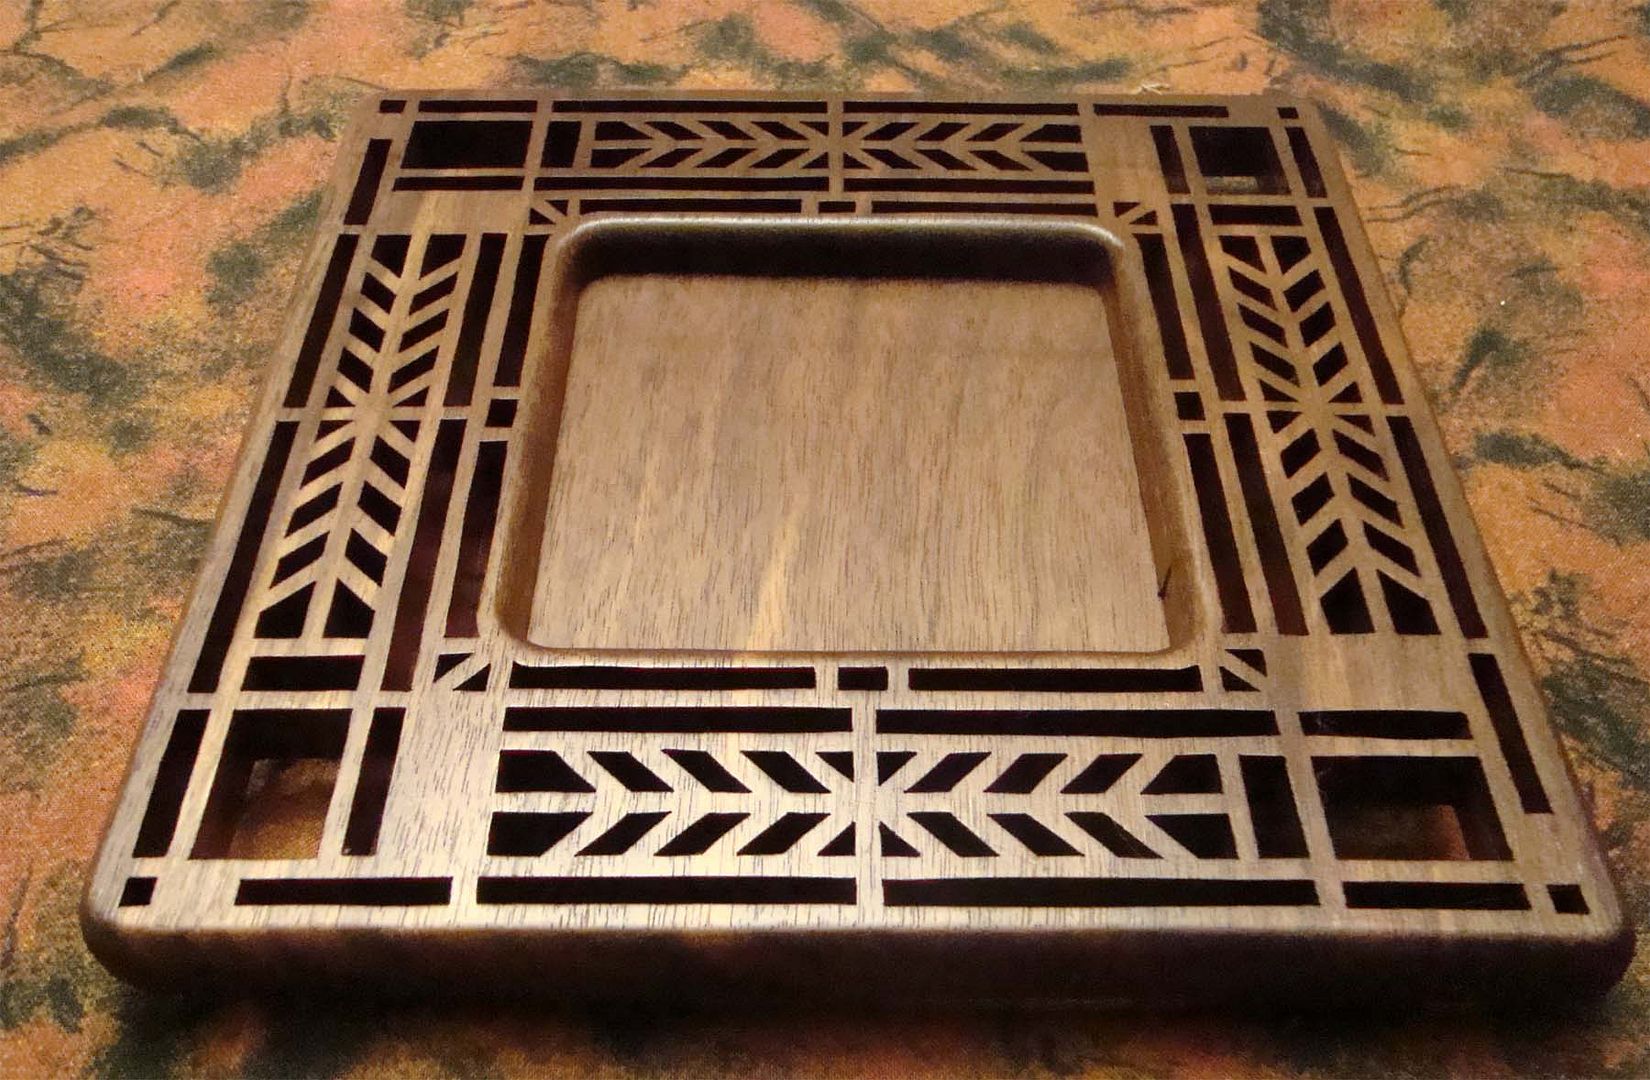 |
| Wright Inspired Candle Tray |
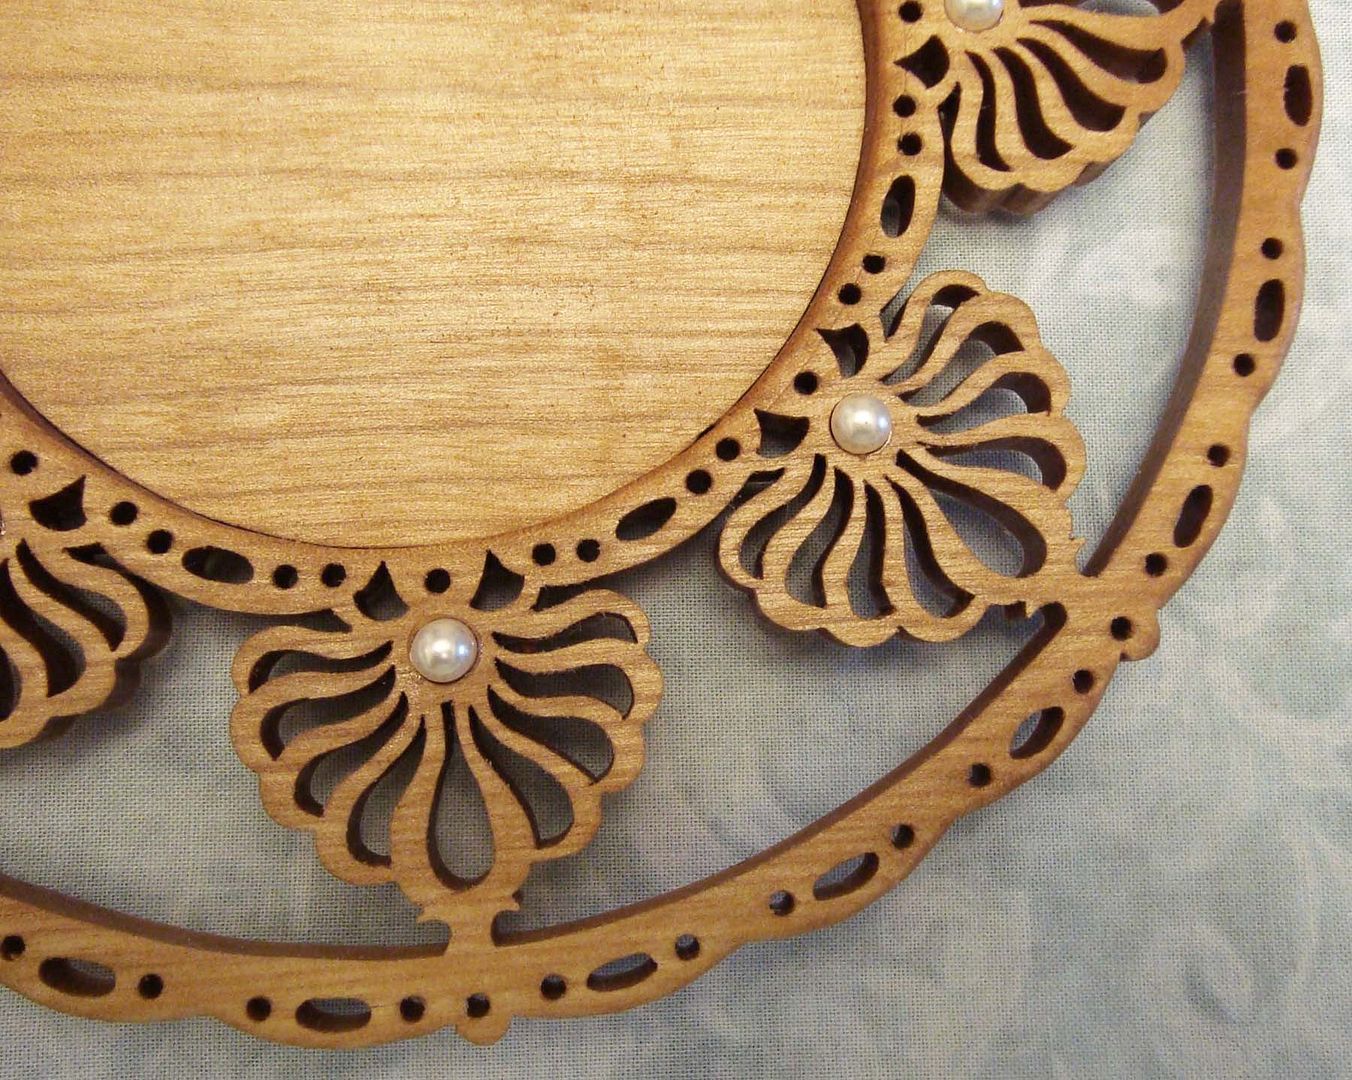 |
| Fretwork Candle Tray |
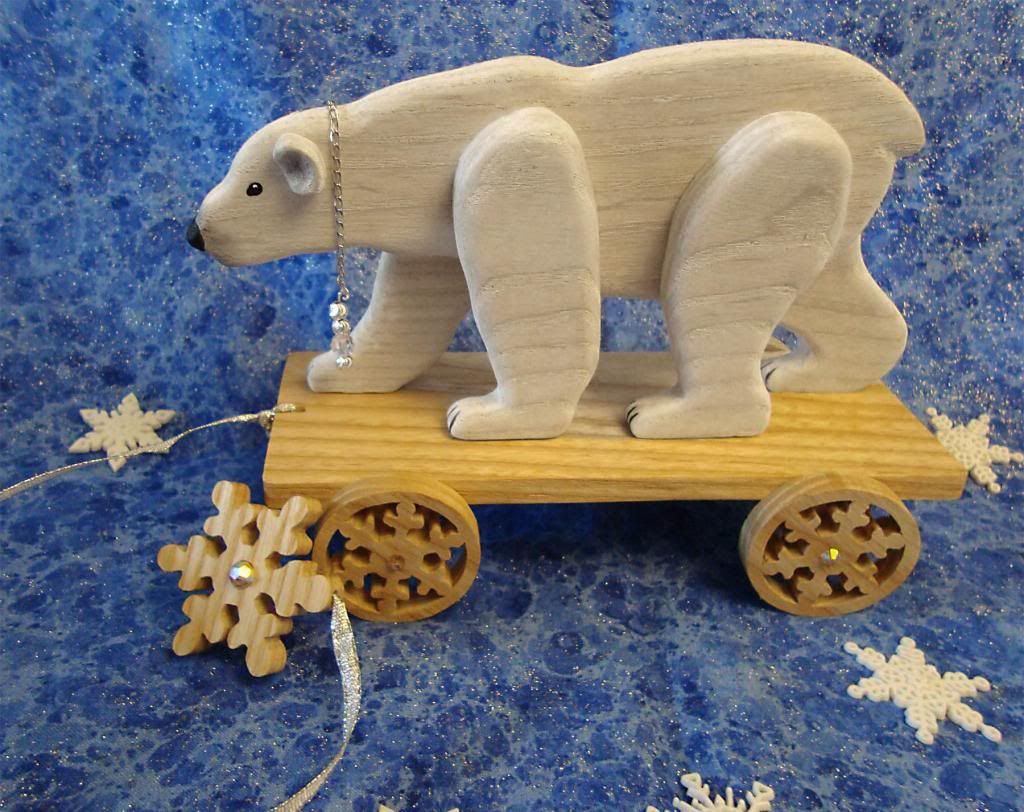 |
| Polar Bear Pull Toy |
 |
| Cheese Please Tray |
...to comical:
 |
| See Creature White Tail Deer |
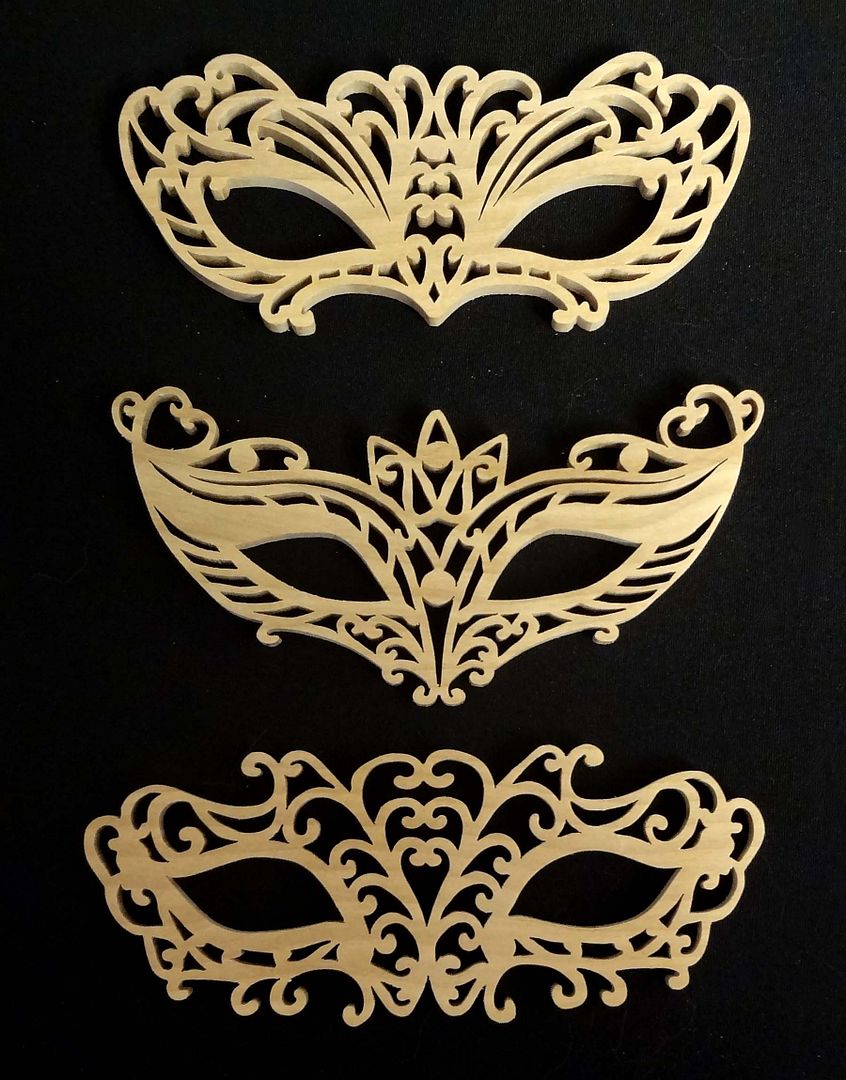 |
| Fretwork Masks |
Finally, I find a great deal of inspiration from other people around me. As an artist and designer, I surround myself with other positive and creative people. I find that the best way to be creative and inspired is to share ideas with others who share your passion for creating. It doesnt have to be people who have your exact interests. Besides woodworking, I also do a bit of painting and I find that both groups of people are a very positive influence in my life and keep me motivated and excited and passionate about what I do.
Stop and disconnect
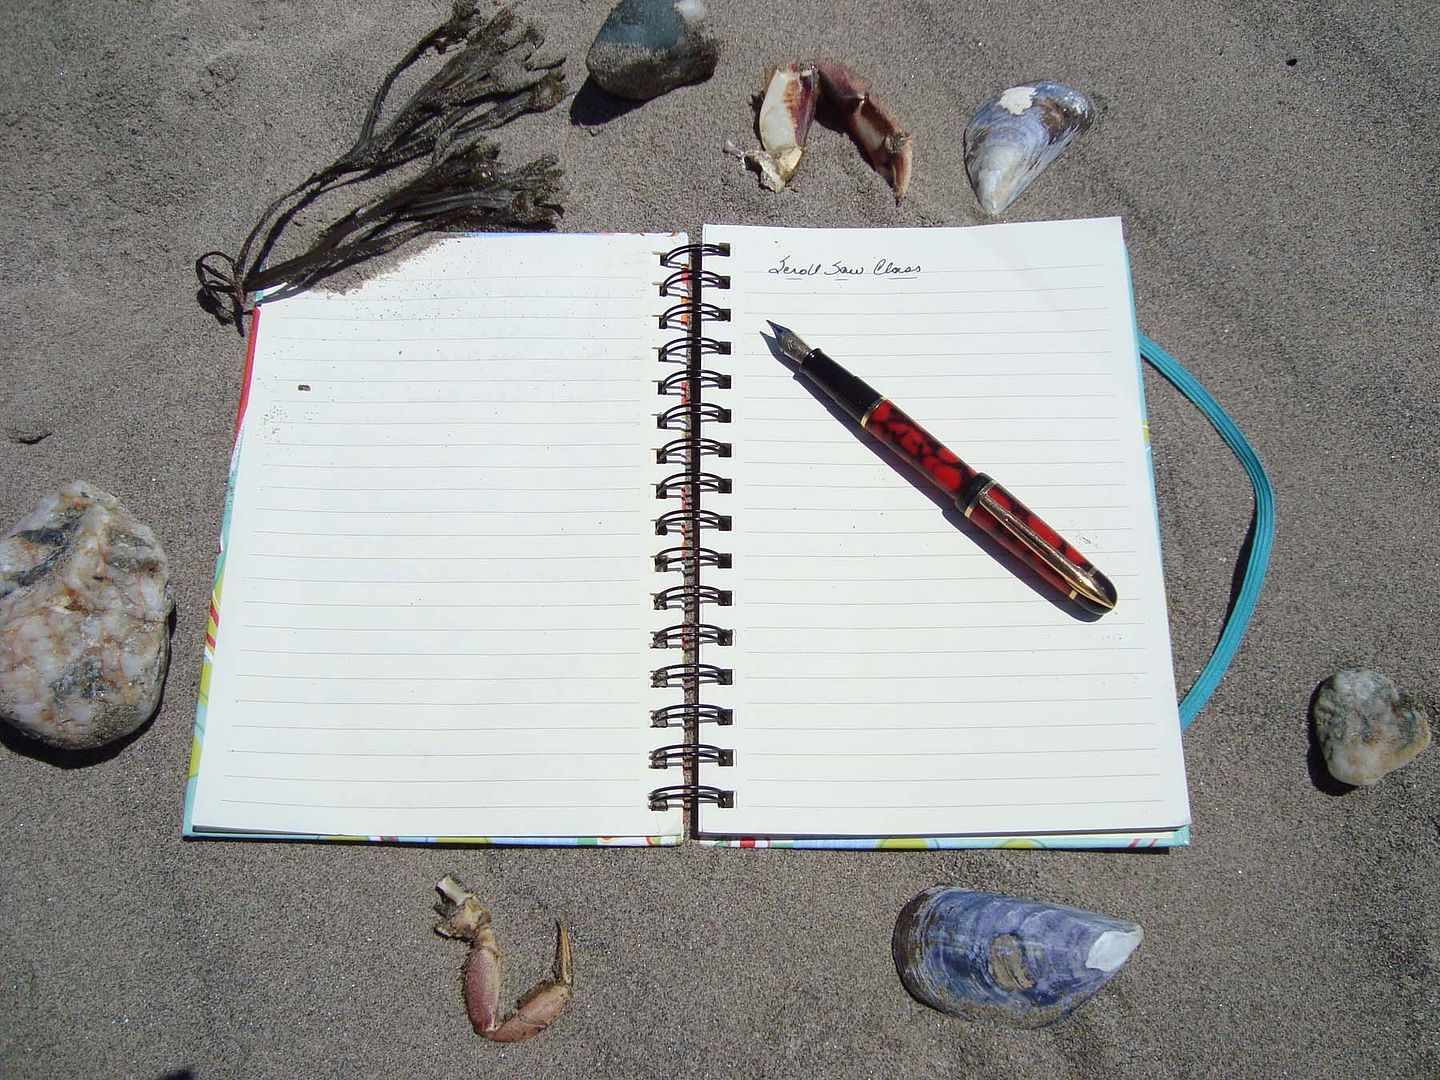 |
| My office: the beach! |
Tuesday, March 4, 2014
Bookcase Plans
This set of free bookcase plans stems from a furniture project that went into my home office. My wife needed a bookshelf to store some of the kids school things, but it needed to fit on a certain wall in the room. It also needed to be pretty tall to maximize the amount of storage space available.
As I was developing the bookshelf plans, I tried to make it simple to build. But I also wanted it to have a little more character than just a box with a bunch of 3/4" shelves in it. The result is now sitting in my office, packed full of stuff, and I think it fits the bill pretty well.
Size As I mentioned, the bookshelf needed to fit a certain wall in my office and be as large as possible. An overall width of 28" and height of 82" worked great.
Often, bookcase plans call for a depth of only 12". This seemed too small to me. I extended the depth to 14" to accommodate even the largest of books. The plans can be adjusted to nearly any size you like, as long as the shelves dont become too long to support their load without sagging.
Normally I suggest avoiding shelves that are more than 36" long. In this case however, you should be safe extending them to 48". The addition of a panel (or valance) along the front edge of the shelves serves to stiffen them. It also gives the bookshelf a bit more character than plain old 3/4" shelving.
Design A common practice with simple furniture designs, like bookcases and dressers, is to extend the wall ends to the floor. Then, a slightly recessed toekick is installed just below the bottom shelf, between the wall ends.I like this look and it helps prevent the unit from tipping forward. So, I included it in the bookcase plans.
This bookcase could easily have been built as a simple box, much like a cabinet. But the recessed toekick gave me the idea to add the same detail to the top and to the adjustable shelves. You can leave off the valances, but they do add a nice detail without a lot of extra effort.
By adding the valances to the adjustable shelves, you also add a great deal of rigidity to the shelves. This allows you to build a bookcase with longer shelves and they wont sag under the heavy weight of books.
In this case, the extra strength is not needed. So the added valances are really just for looks.
Materials If youre at all familiar with any of my other plans, you wont be surprised to learn that I built the bookcase out of white Melamine. Its durable and easy to work with, but any 3/4" panel will work just fine.If you choose a wood veneer plywood or particle board, the valance panels at the toekick, top, and adjustable shelves can be made from solid stock to match the veneer.
Something I discovered as I was assembling the bookcase was that I had failed to edge band the top edges of the wall ends. For an 82" tall bookcase its not a big deal since you wont ever see that edge. If you shorten the bookcase plans so that the top is below eye level, then the top edges really should be finished.
Assembly Im kind of in love with my Kreg jig, so thats what I used to assemble the bookcase. If youre not familiar with pocket hole joinery, I encourage you to check out these videos. They do a pretty good job of demonstrating the basics.In this case, pocket hole screws are particularly useful for joining the valances to the top, shelves, and bottom. I also used them, along with Melamine glue, for attaching the top and bottom to the wall ends. An alternative would be to screw through the wall ends into the top and bottom, but I didnt want visible fasteners in the wall ends.
The "nailers" are sort of a throw back to cabinet construction that serve to help keep the unit straight and square. Theyre glued and screwed to the wall ends, top, and bottom.
Drawing File Overall, its a pretty simple project. With the addition of the valances, and the right material, it will be equally at home in a casual office setting or the front room of your home.Wherever you decide to put it, to view the plans just click on the link below. If youd like to download a copy to your computer, right click then "save-as". Either way, youll need the Adobe reader to view the file.
View or Download "Bookcase Plans"
Return from Bookcase Plans
to Furniture Plans
Click Here and Start WoodWorking
1000 Page Views
T Chisel changes site
Its not completely done, but the forum is up at http://www.mlwwoodworking.com/forum so be sure to drop in and check that out.
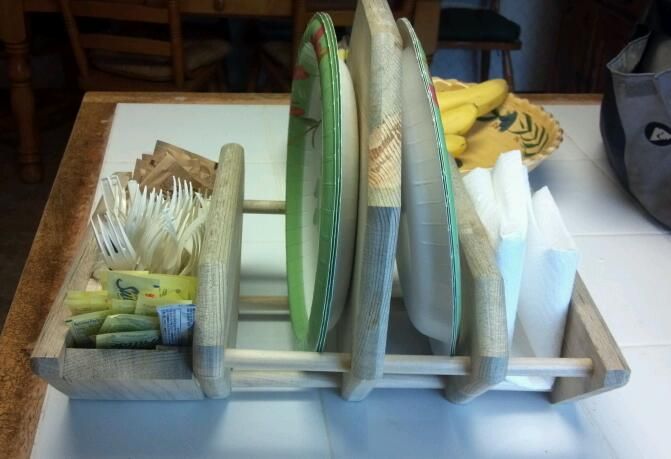
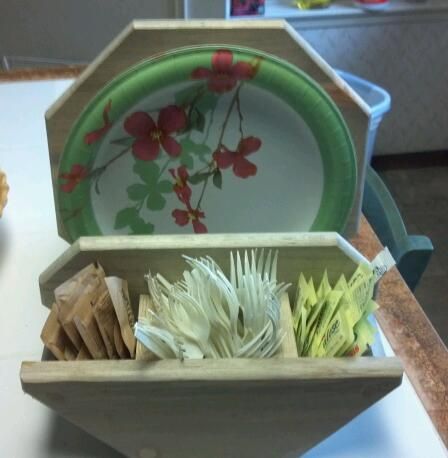
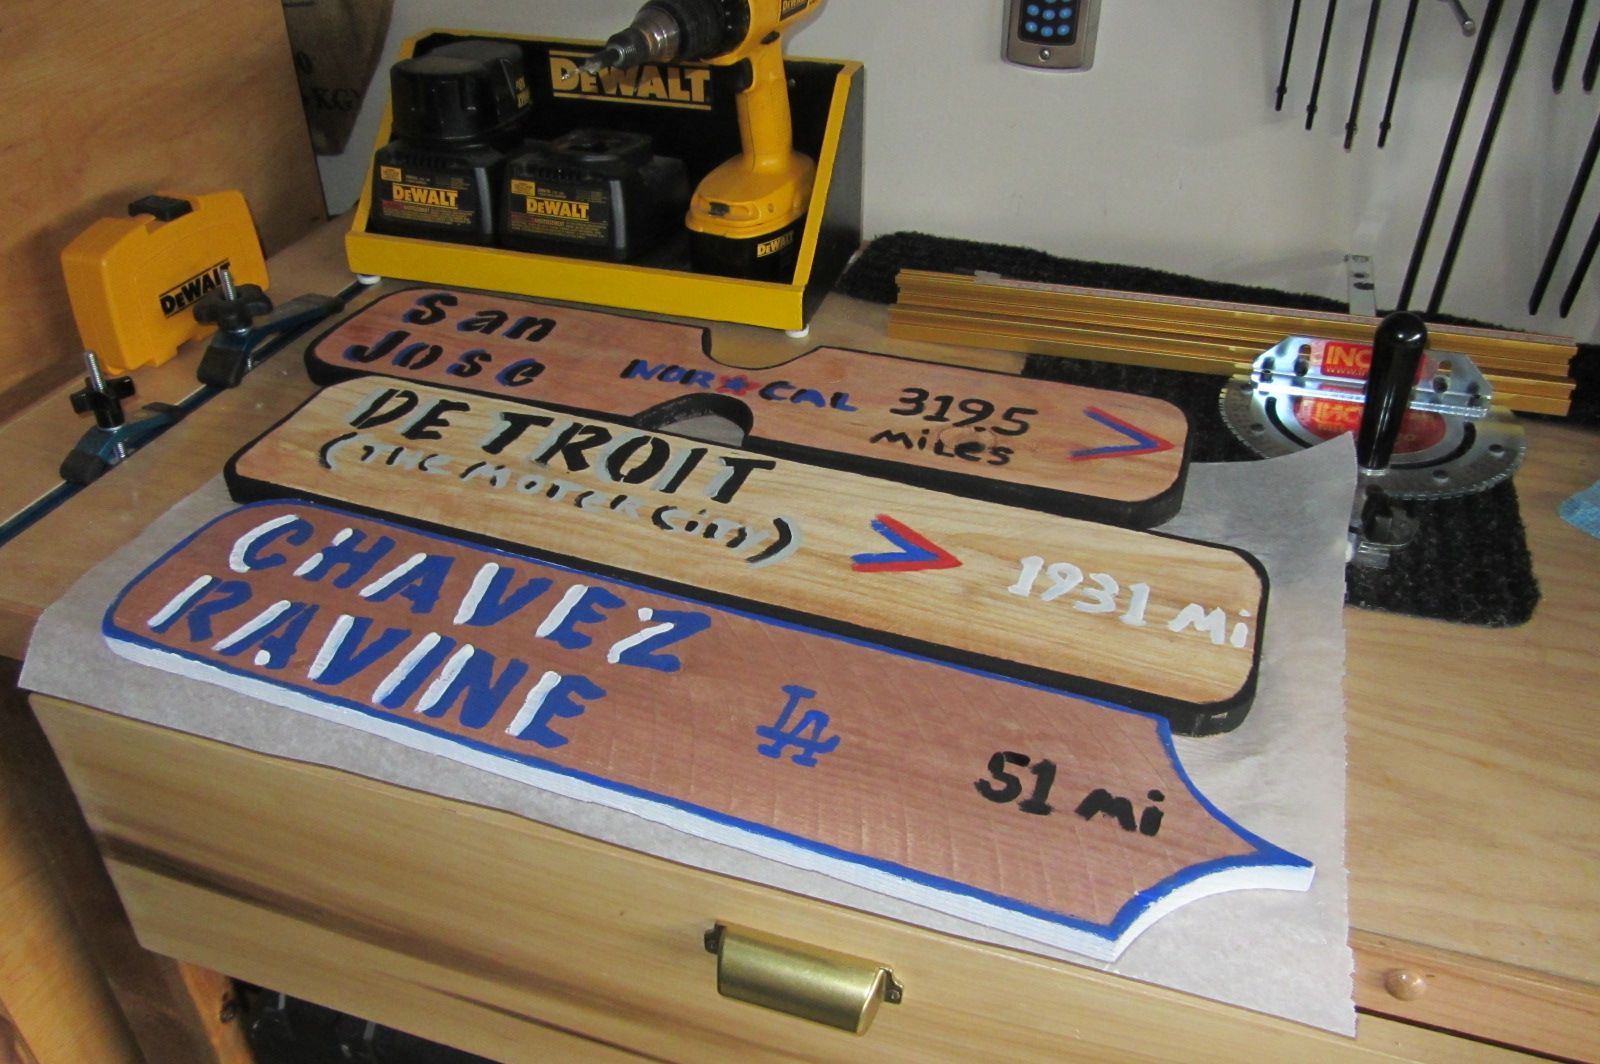
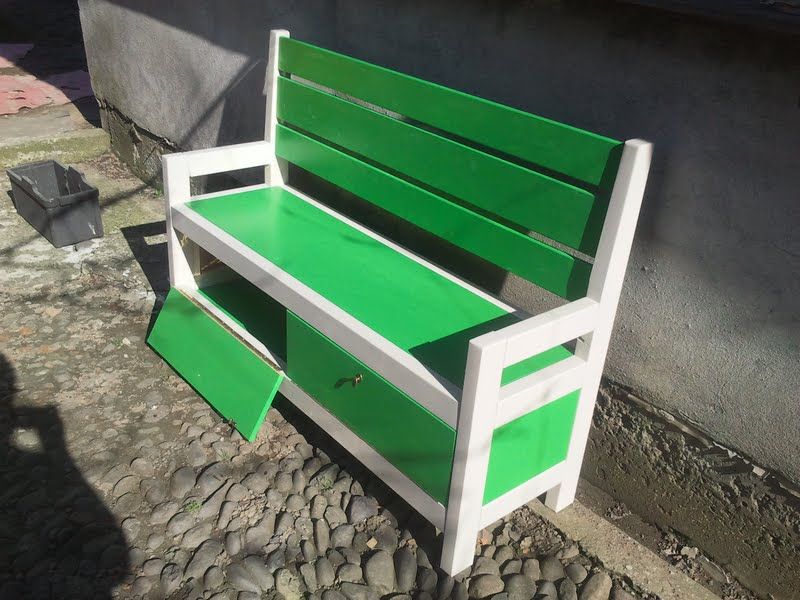
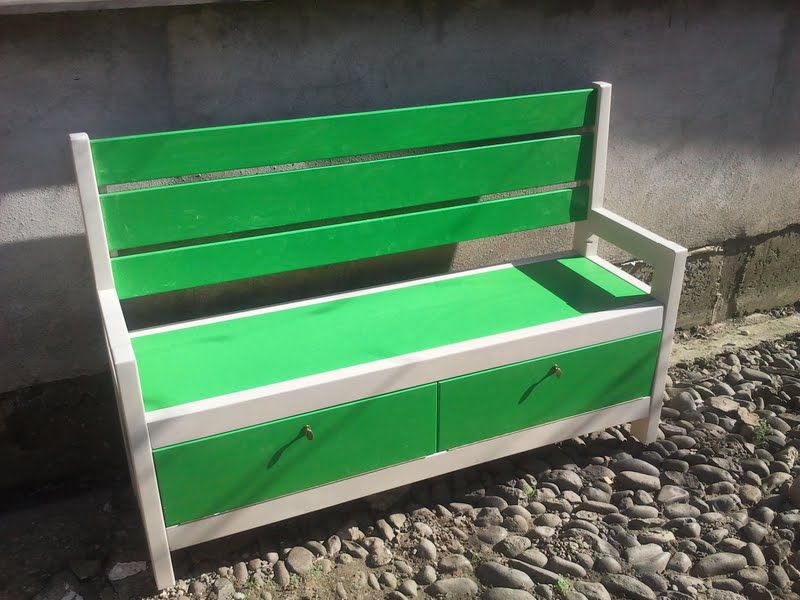
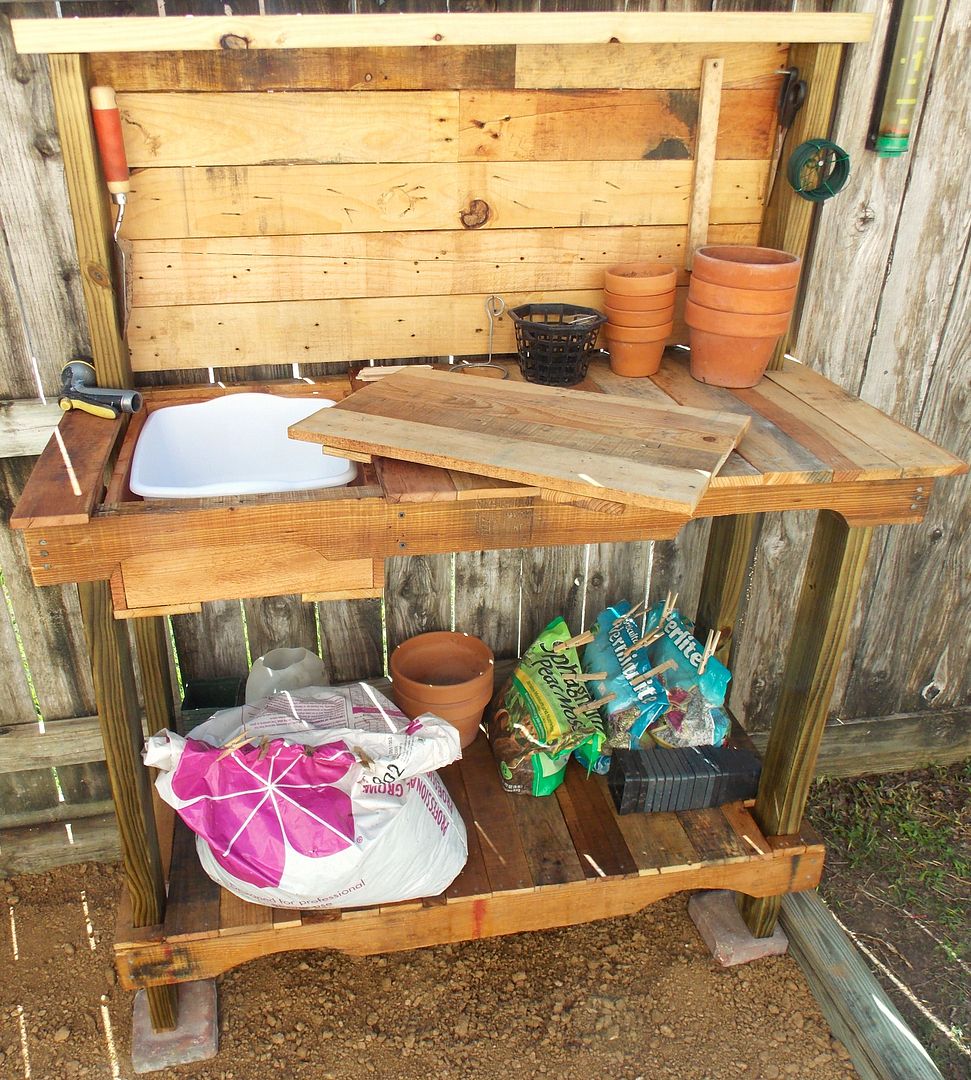
Project ideas for the home and garden
Heres what some of you have been up to. Definitely a lot of springtime projects getting made.
Last year I made a picnic tote for storing paper plates and a keeping paper napkins from blowing away. Bill Wilson made this one double sided for holding condiments and utensils.
Monday, March 3, 2014
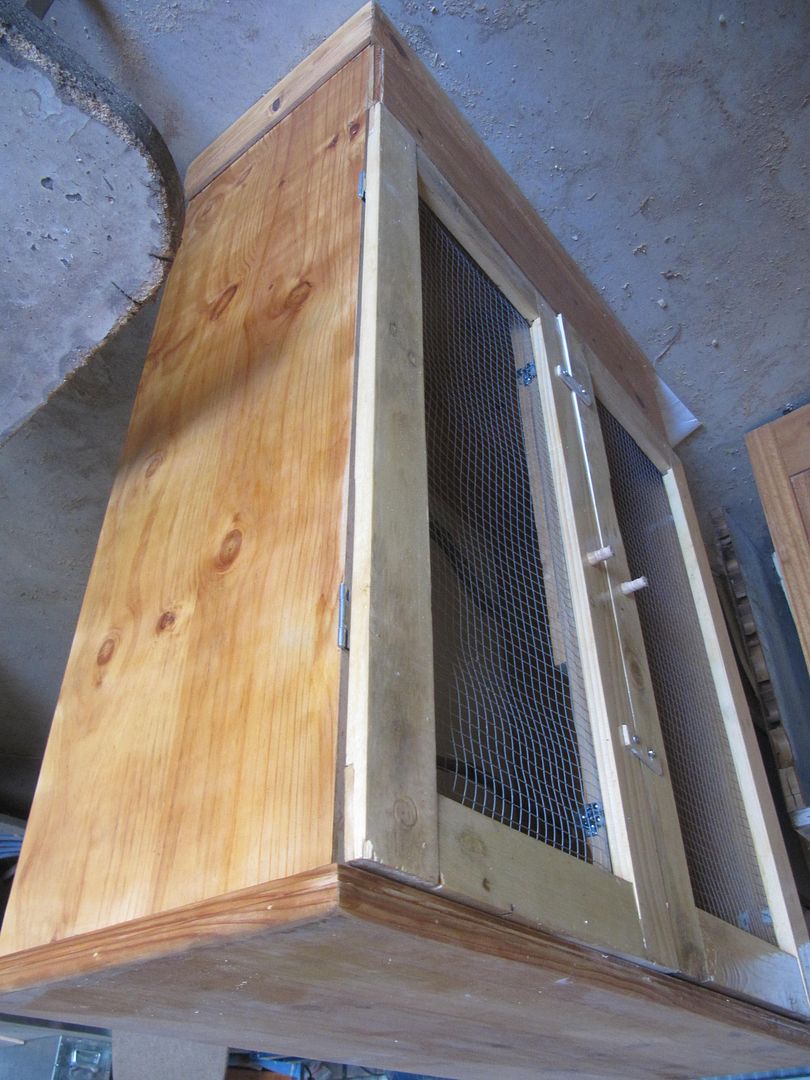
Media Cabinet Plugging along
 |
| From MediaCabinet |
I had a little tear out on the first one because I forgot to use a backer board. This joint is on the bottom anyways so it will never be seen.
 |
| From MediaCabinet |
Next, I figured I would start on the top. It takes a while to glue the boards up so I figured now was a good time to do it because while the glue dries I can work on other items. So, the top is to be about 65" long by 22" deep. I started with a long 12/4 piece of wood. This I will resaw three times to get my three pieces need to make the top. I have an 8" jointer and this board was wider than that so I had to initially flatten it by hand. For those not familiar with doing this, a good way to get started is to use chalk and mark up your board.
 |
| From MediaCabinet |
This allows you to know the areas that you have, and have not, planed. Then, you use something like a #4 and begin to work up and down the board at a pretty big angle, somewhere between 45 and 60 degrees.
 |
| From MediaCabinet |
This is a shot of about half way though. You can see the center of the board still has chalk, this tells me that I have not yet gotten the whole thing flat. If you look at the part of the board closest to you, you can also see the plane marks and the angle of approach I am using. As you get it more and more flat, you begin to decrease the angle and then eventually switch to another plane to finish it off.
Here are the three, book matched, boards after being resawn and planed to thickness. By the way, resawing a 12/4 piece of wood 70" long is a real treat!
 |
| From MediaCabinet |
Its not the greatest picture in the world, but I think you can get an idea for the triple book match. This is something that sets one piece of work apart from others so take note when looking at "antique" furniture and the quality of work.
Next, I needed to layout and begin routing the dados for the vertical panels. Im starting with the two outer most panels, these only come in just over half way as they are part of the swing out door assembly. I always turn into a nervous wreck when I have to do things like this because if you mess it up, all that wood and work are ruined. Anyways, I made the first two with no problem.
 |
| From MediaCabinet |
So next I need to rout the dados in the swing out doors that house the shelves for the storage. This will be two dados on each side. Once I have those in, I will then glue up the swing out doors and use those to aid me in laying out where the next dados go for the middle, full length, vertical panels. More on that later though!
Be safe!
YouTube woodworking spotlight Jay Bates
This new feature on Woodworking for Mere Mortals will showcase YouTube channels you may not be aware of and encourage you to subscribe. My criteria is simple: spotlighting shows that offer valuable woodworking content on a consistent basis.
Remember: subscribing to YouTube channels is free, shows your support for good content, and keeps you informed whenever a new video is released.

Additionally, Jay produces a fantastic series of SketchUp tutorials that are a must-watch for anyone interested in learning SketchUp, which has become almost a necessity for designing woodworking projects.
- Visit and subscribe to Jays YouTube channel
- Jays Custom Creations web site
- Woodworking with SketchUp web site
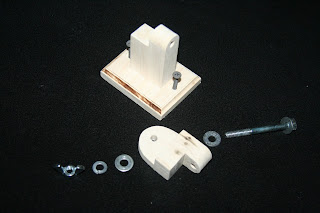
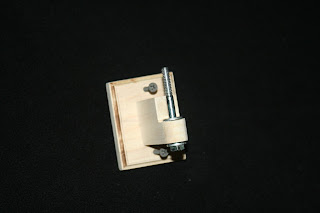
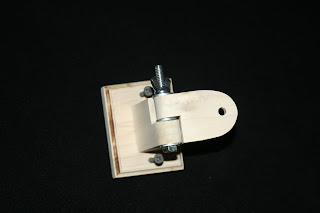
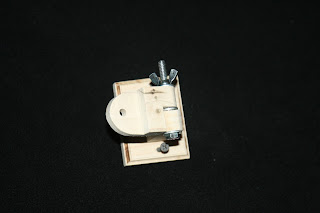
Home made TV bracket er no speaker brackets!
**********
This is really cool. Like me, Sergio Jimenez experienced sticker shock when he went to the store to buy a bracket for a flat screen TV. I was astonished to discover that fully swiveling brackets can run you over $100. Well, Sergio built his own for about seven bucks. Heres the whole process: